Discover safe methods for removing Shellac. Learn how MONLIS Studio provides gentle care for your nails and expert tips for maintaining nail health
Shellac is a popular choice for those seeking long-lasting, glossy nail polish. However, just as important as its application is its proper and safe removal. Incorrect removal can damage the nail plate, weaken nails, and irritate the cuticles. At MONLIS Studio, we prioritize the health of your nails throughout the process. In this article, we’ll explain safe Shellac removal methods and provide helpful tips from our experts.
Why Is Professional Shellac Removal Important?
Shellac is a hybrid between nail polish and gel that cures under a UV or LED lamp. This makes it durable but also resistant to regular nail polish removers. Attempting to remove Shellac at home without professional help can damage the nail plate or even cause breakage.
Professional removal offers the following benefits:
Protects the nail plate: Proper techniques prevent damage to natural nails.
Avoids irritation: Professionals ensure the cuticles are not harmed.
Saves time: The process is efficient and safe in a salon setting.
Step-by-Step Guide to Shellac Removal
Shellac removal at MONLIS Studio involves several precise steps to ensure the safety of your nails.
1. Preparation
First, the nail technician examines the condition of your nails to ensure there is no damage or infection. The hands or feet are then disinfected to maintain hygienic conditions.
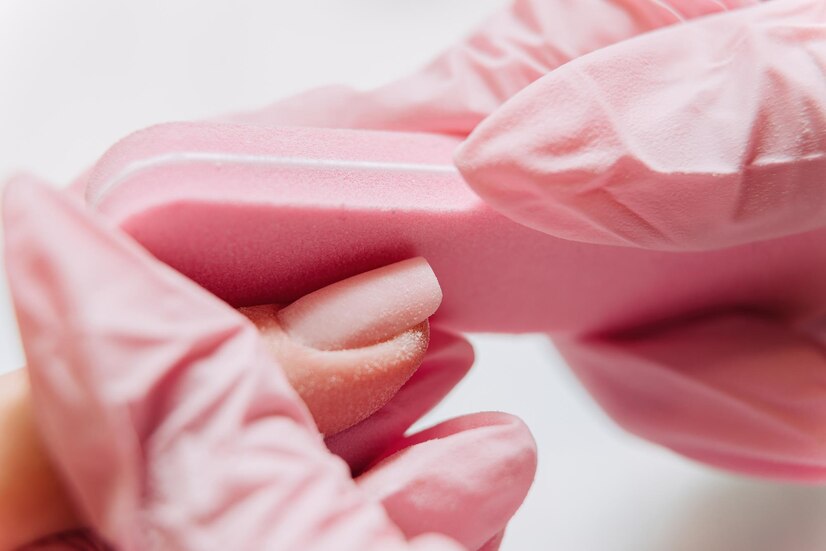
2. Filing the Top Layer
The glossy top layer of the Shellac is gently filed away. This allows the remover to penetrate the material more effectively. Care is taken not to damage the natural nail plate during this process.
3. Applying the Remover
An acetone-based remover is applied to cotton pads, which are then placed on the nails. The pads are secured with foil or special clips to enhance effectiveness. This step usually takes 10-15 minutes, depending on the thickness of the Shellac.
4. Gently Removing the Shellac
After the soaking period, the softened Shellac is carefully removed using a wooden stick or a specialized tool. The natural nail plate is treated with care to prevent any damage.
5. Cleaning and Nourishing
Once the Shellac is removed, the nails are cleaned and shaped. The cuticles are nourished, and a nourishing nail oil is applied to strengthen the nails.
Tips for Nail Care After Shellac Removal
After removing Shellac, your nails need special care to stay healthy and recover. Here are some expert tips:
Use nail oil: A quality nail oil hydrates and strengthens your nails.
Moisturize the cuticles: Regularly massage a moisturizing cream or nail oil into your cuticles.
Give your nails a break: Let your nails “breathe” for a few days before applying a new manicure.
Avoid harsh chemicals: Wear gloves when handling cleaning agents to protect your nails.
Common Mistakes in Shellac Removal and How to Avoid Them
Many common mistakes during Shellac removal can be avoided by seeking professional help.
Scraping off the Shellac: Using sharp tools to scrape off Shellac can severely damage the nail plate.
Using pure acetone without care: Acetone without protective care products can dry out and weaken nails.
Being impatient: Trying to remove Shellac too quickly can leave residue on the nails or damage their natural surface.
Why MONLIS Studio Is the Best Choice
At MONLIS Studio, we use only high-quality products and tools to ensure your nails are protected throughout the removal process. Our experienced nail technicians are skilled in removing Shellac efficiently and gently, without compromising the natural structure of your nails.
Additionally, we provide advice on the best care products and practices to help maintain your nail health over time.
Removing Shellac is a delicate process that is best handled by a professional. With proper techniques and the right care, your nails can remain healthy and strong.
Visit MONLIS Studio for a safe and professional Shellac removal experience. Our experts will ensure your nails are perfectly cared for and ready for your next stunning look!